Until recently it was only possible to open a Picture-in-Picture window with HTML video element inside. However, in the past few months Google Chrome recently added the Document Picture-in-Picture API which enables the support of any arbitrary HTML content within the Picture-in-Picture window. This opened the possibility to create innovative interactions and improve workflows such as screen recording.
In this article, we will explore how to leverage the Document Picture-in-Picture API along with Insertable Streams to develop a simple screen and camera recorder. The user will be able to see their camera and to control the recording while seamlessly using the browser tab or window that they chose to record. Both the screen and camera streams will be combined into a single video file thanks to the Insertable Streams. Let's dive into the implementation!
Enabling the Document Picture-in-Picture API
As we are writing this article, the Document Picture-in-Picture API is still in trial phase. You can experiment the API either locally by enabling the flag chrome://flags/#document-picture-in-picture-api or by registering for the origin trial.
Setting up the HTML structure
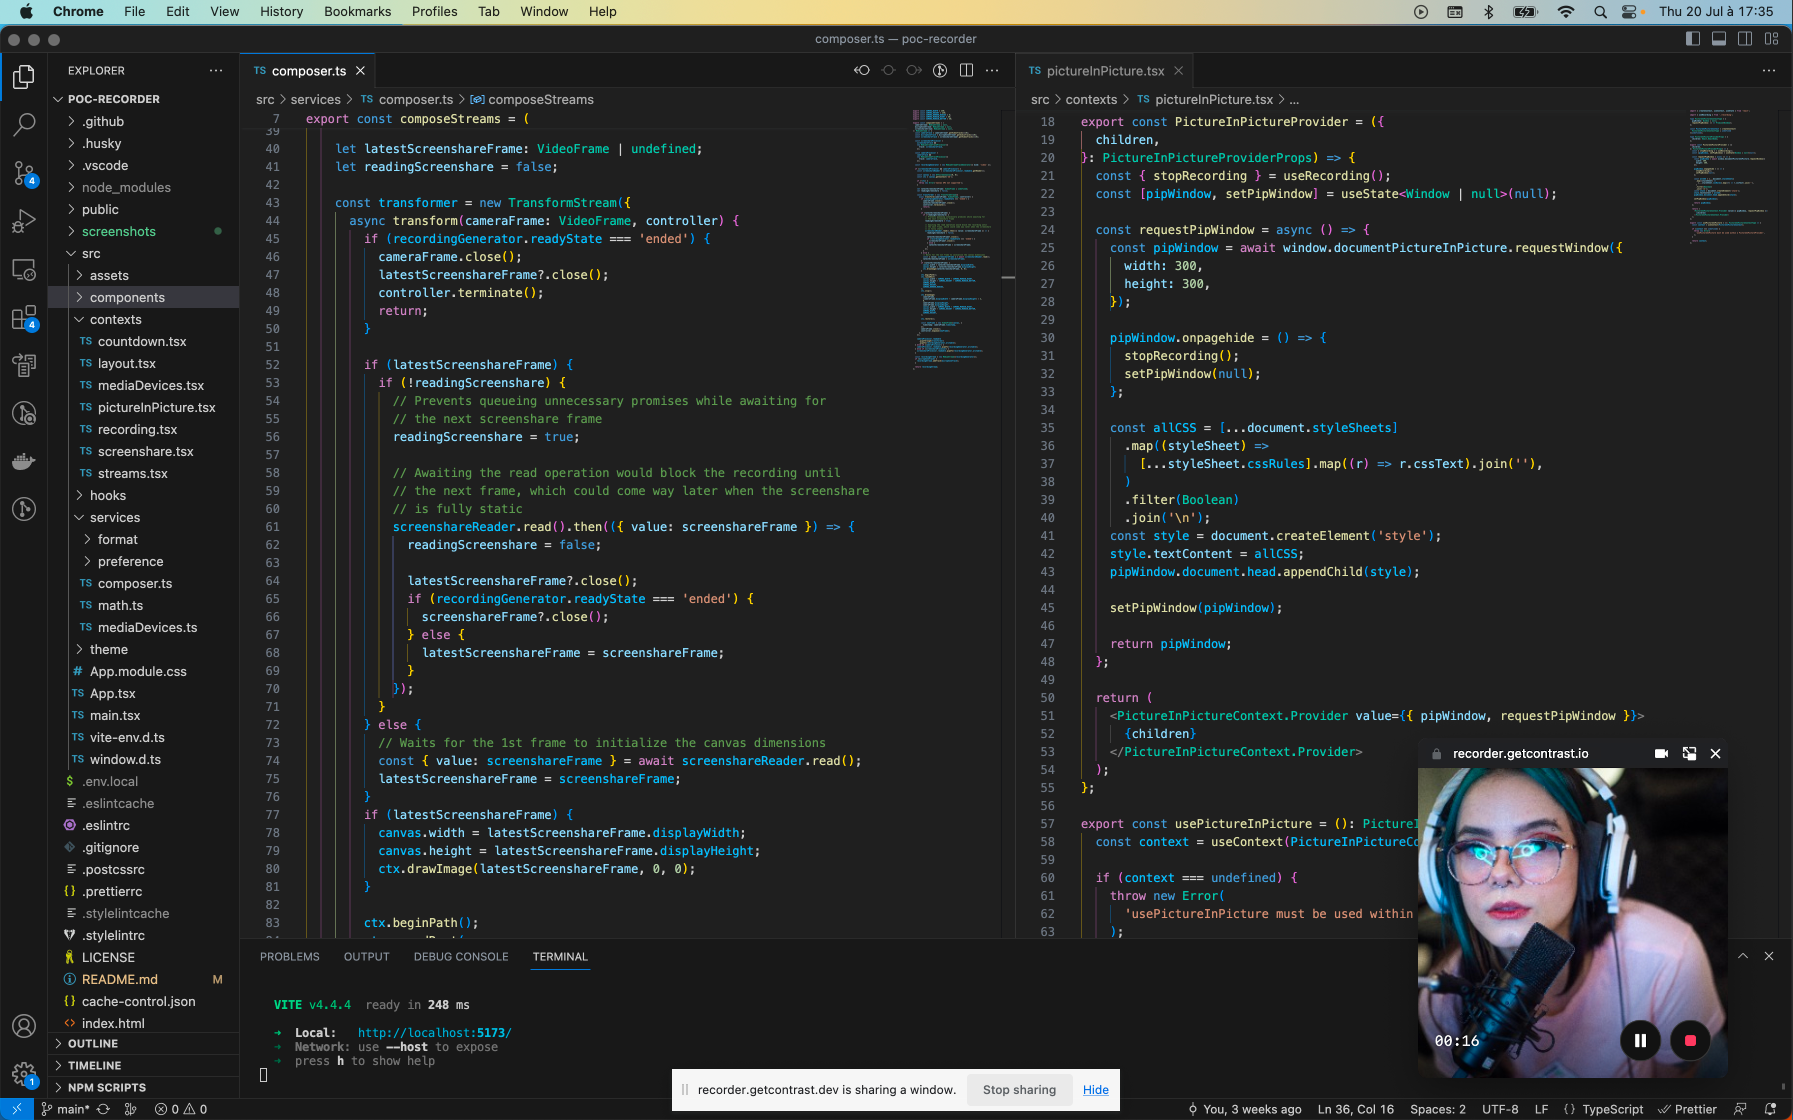
Most of the magic will happen in the Picture-in-Picture window. So our main HTML structure contains only a single button.
<button>Get started!</button>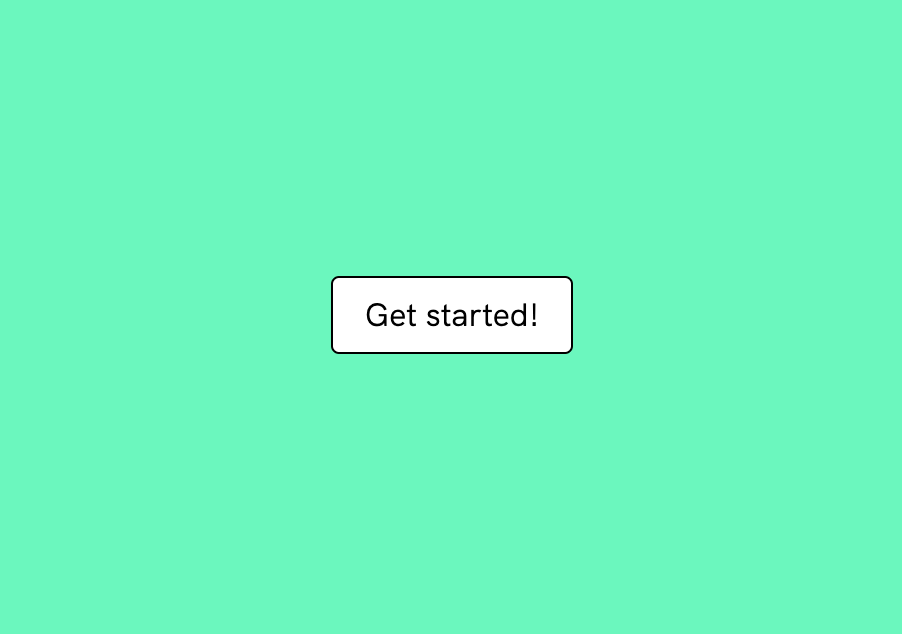
Opening the Picture-in-Picture window
When the user clicks the button, we want to open a blank Picture-in-Picture window and add some styles inside.
const pipButton = document.querySelector('button');

pipButton.addEventListener('click', async () => {
  // Open a Picture-in-Picture window.
  const pipWindow = await documentPictureInPicture.requestWindow();

  // Add any style sheet that will be needed in the Picture-in-Picture window.
  const link = document.createElement('link');
  link.rel = 'stylesheet';
  link.href = '/style.css';
  pipWindow.document.head.appendChild(link);
});
The Picture-in-Picture window can be opened only on a user interaction. requestWindow can't be called after requesting the screen sharing because it will take some time for the user to select their screen sharing and the browser would consider that the button was clicked too long ago.
Accessing screen and camera streams
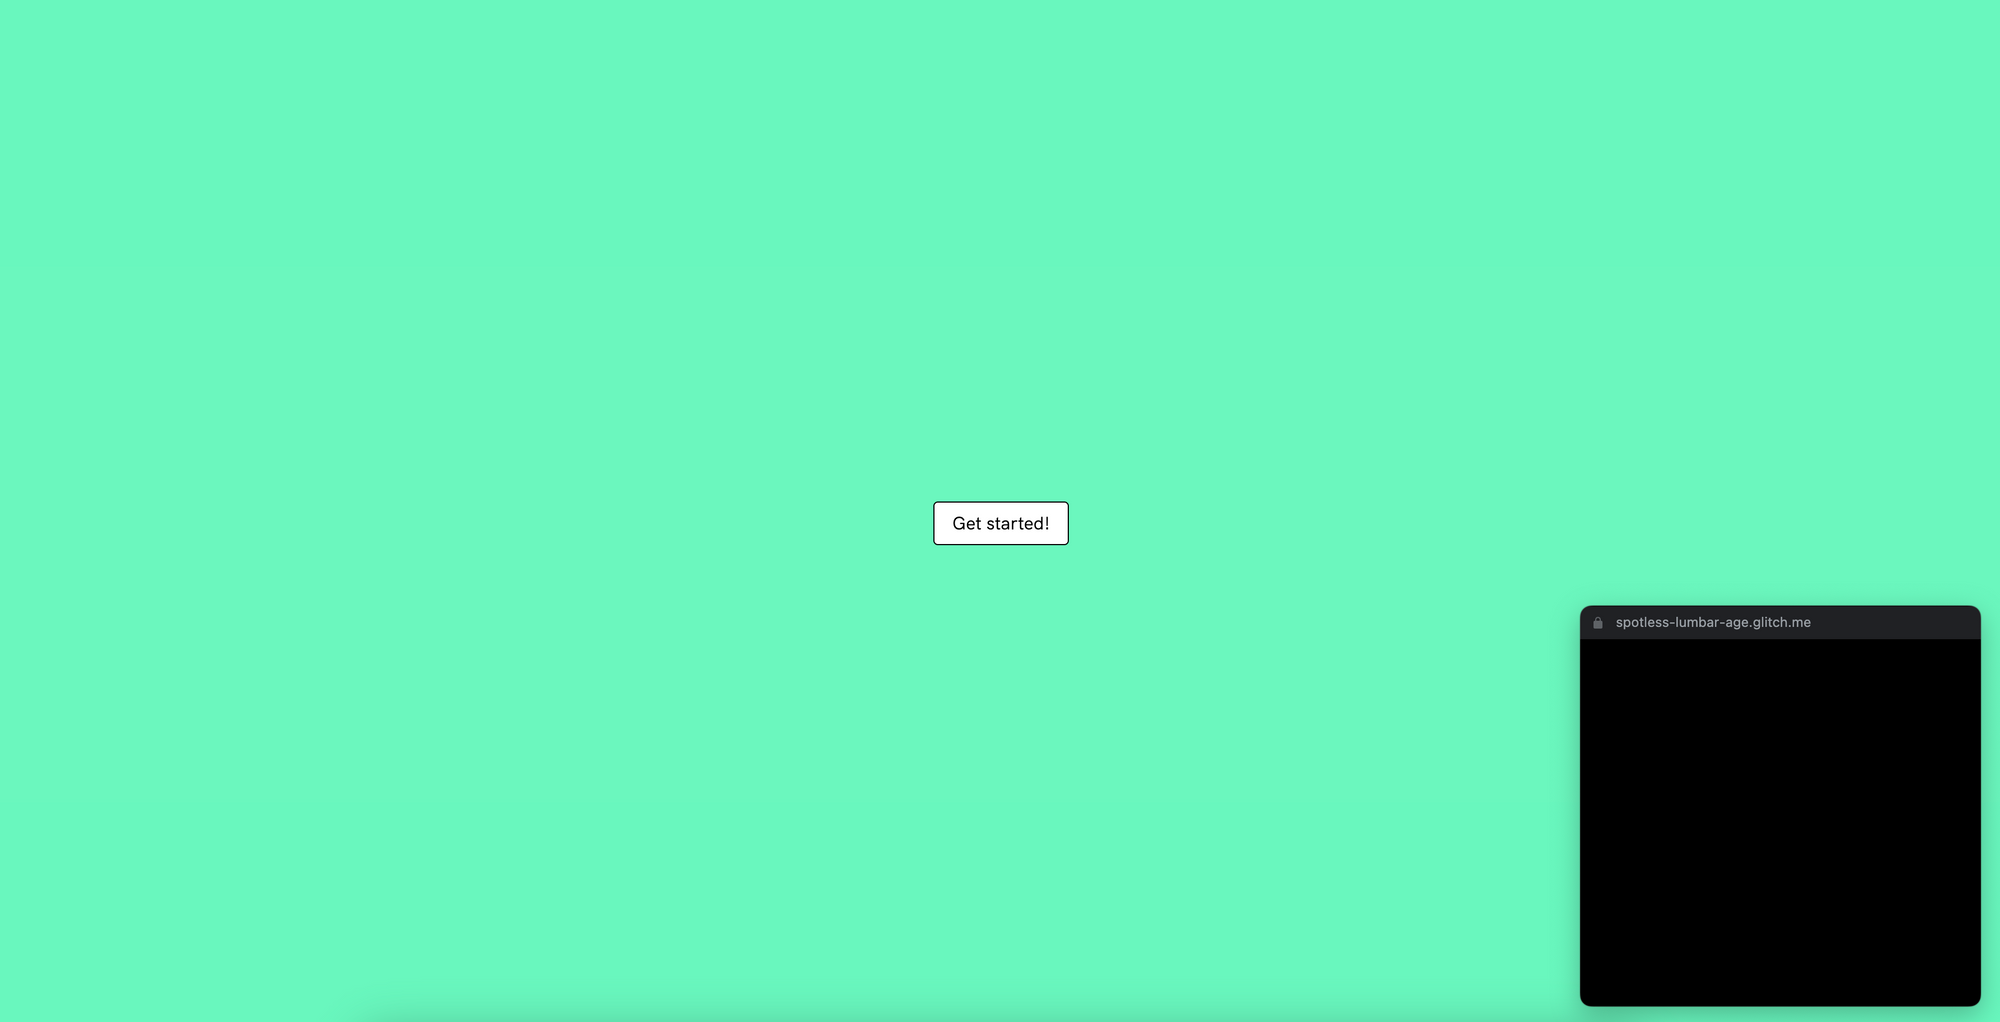
To capture the screen and camera feeds, we'll use the getDisplayMedia and getUserMedia functions.
pipButton.addEventListener('click', async () => {
  // ...

  // Get screen and camera streams.
  const screenStream = await navigator.mediaDevices.getDisplayMedia({
    video: true,
    audio: false
  });
  const cameraStream = await navigator.mediaDevices.getUserMedia({
    video: true,
    audio: true
  });
});
After acquiring the screen stream, the browser will automatically switch to the shared tab or application. The Picture-in-Picture window will remain visible in front of it.
Rendering the camera in the Picture-in-Picture window
Create an HTML video element and set the camera stream as its video source. Then we can render this video element in the Picture-in-Picture window.
// Create a video element to play the camera stream.
const cameraVideo = document.createElement('video');
cameraVideo.srcObject = cameraStream;
cameraVideo.autoplay = true;
cameraVideo.muted = true;

// Insert the camera video element into the Picture-in-Picture window.
pipWindow.document.body.appendChild(cameraVideo);

Reading the screen video frames
The frame rate of the screen stream is different from the camera stream. The browser usually emits frames for the screen at a lower rate when the stream is static and it will send more frames when something moves on screen.
To implement our recorder, we will produce a video with a frame rate that matches the one of the camera stream. So in this step we will read all the frames from the screen stream and save the latest one in a variable that we'll read when processing the camera stream.
// Use MediaStreamTrackProcess to consume screen frames.
const screenProcessor = new MediaStreamTrackProcessor({
  track: screenStream.getVideoTracks()[0],
});

// Read screen frames and save the latest one.
let screenFrame;
const screenReader = screenProcessor.readable.getReader();
screenReader.read().then(function saveScreenFrame({ done, value: frame }) {
  screenFrame?.close();
  screenFrame = frame;
  if (done) {
    return;
  }
  return screenReader.read().then(saveScreenFrame);
});
Reading the camera video frames and compositing the streams
Now that we are saving the latest screen frame, we can read the camera frames and render them on top of the screen frame to compose them into a single brand new frame.
// Use MediaStreamTrackProcessor to consume camera frames.
const cameraProcessor = new MediaStreamTrackProcessor({
  track: cameraStream.getVideoTracks()[0],
});

// Create an OffscreenCanvas to combine the screen and camera frames.
const canvas = new OffscreenCanvas(0, 0);
const ctx = canvas.getContext('2d');

// Use TransformStream to process the camera frames and combine them
// with the latest screen frame.
const transformer = new TransformStream({
  async transform(cameraFrame, controller) {
    ctx.clearRect(0, 0, canvas.width, canvas.height);

    if (screenFrame) {
      canvas.width = screenFrame.displayWidth;
      canvas.height = screenFrame.displayHeight;
      ctx.drawImage(screenFrame, 0, 0);
    }

    // Draw the camera frame as a square in the bottom right corner
    // of the screen frame.
    ctx.drawImage(
      cameraFrame,
      (cameraFrame.displayWidth - cameraFrame.displayHeight) / 2,
      0,
      cameraFrame.displayHeight,
      cameraFrame.displayHeight,
      canvas.width - 280,
      canvas.height - 280,
      240,
      240
    );

    const newFrame = new VideoFrame(canvas, {
      timestamp: cameraFrame.timestamp,
    });
    cameraFrame.close();
    controller.enqueue(newFrame);
  },
});
Generating a new media stream
We can now generate a new video track and create a new media stream combining this new track with the camera audio track(s).
// Use MediaStreamTrackGenerator to produce the composed frames.
const composedGenerator = new MediaStreamTrackGenerator({ kind: 'video' });

// Pipe the camera processor to the transformer and to the composed frames
// generator.
cameraProcessor.readable
  .pipeThrough(transformer)
  .pipeTo(composedGenerator.writable);

// Create a new MediaStream that includes the composed MediaStreamTrack and
// the audio tracks from the camera stream.
const composedStream = new MediaStream([
  composedGenerator,
  ...cameraStream.getAudioTracks(),
]);
Adding some recording controls
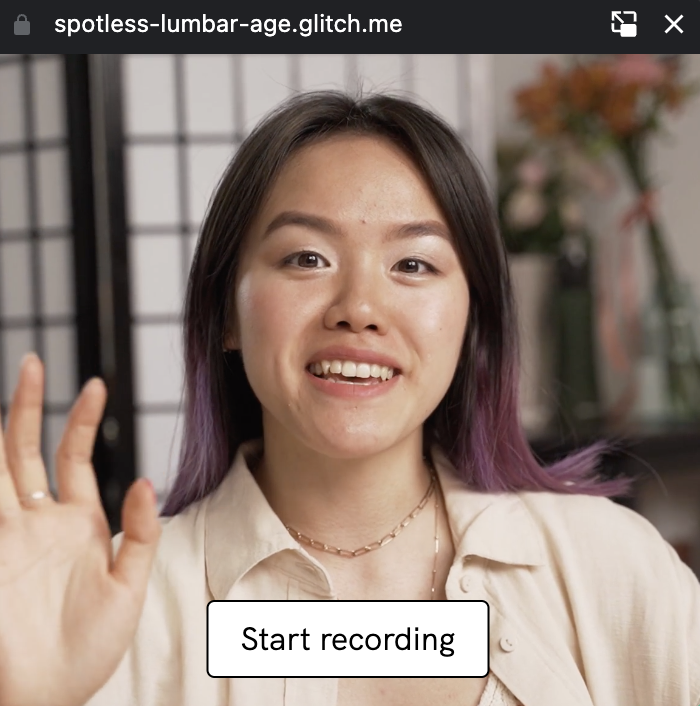
Add a recording button to the Picture-in-Picture window. The button content alternates between "Start recording" and "Stop recording" when the user clicks on it.
// Add the recording button to the Picture-in-Picture window.
const recordingButton = document.createElement('button');
recordingButton.textContent = 'Start recording';

pipWindow.document.body.appendChild(recordingButton);

recordingButton.addEventListener('click', async () => {
  if (recordingButton.textContent === 'Start recording') {
    recordingButton.textContent = 'Stop recording';
  } else {
    recordingButton.textContent = 'Start recording';
  }
});
Starting and stopping the recording
We have a composed stream, we have a recording button, let's start and stop the recording when clicking the button.
// Handle recording start and stop.
let mediaRecorder;
recordingButton.addEventListener('click', async () => {
  if (recordingButton.textContent === 'Start recording') {
    recordingButton.textContent = 'Stop recording';

    // Use a MediaRecorder that will record the composedStream.
    mediaRecorder = new MediaRecorder(composedStream, {
      mimeType: 'video/webm;codecs=vp9',
    });

    // Store every available chunk into an array
    const chunks = [];
    mediaRecorder.ondataavailable = (event) => {
      if (event.data.size > 0) {
        chunks.push(event.data);
      }
    };

    // Start the recording.
    mediaRecorder.start();
  } else {
    recordingButton.textContent = 'Start recording';

    // Stop the recording.
    mediaRecorder.stop();
  }
});
Saving the recording
The last missing piece is to download the file when the recording stops. This can be done by listening the stop event on the media recorder and triggering a programmatic click on a hand-crafted link.
recordingButton.addEventListener('click', async () => {
  if (recordingButton.textContent === 'Start recording') {
    // ...

    // When the media recorder stops, download the recording as
    // a webm file.
    mediaRecorder.onstop = () => {
      const blob = new Blob(chunks, { tyme: 'video/webm' });
      const url = URL.createObjectURL(blob);
      const link = document.createElement('a');
      link.href = url;
      link.download = 'recording.webm';
      link.click();
      window.URL.revokeObjectURL(url);
    };

    // Start the recording.
    mediaRecorder.start();
  } else {
    // ...
  }
});
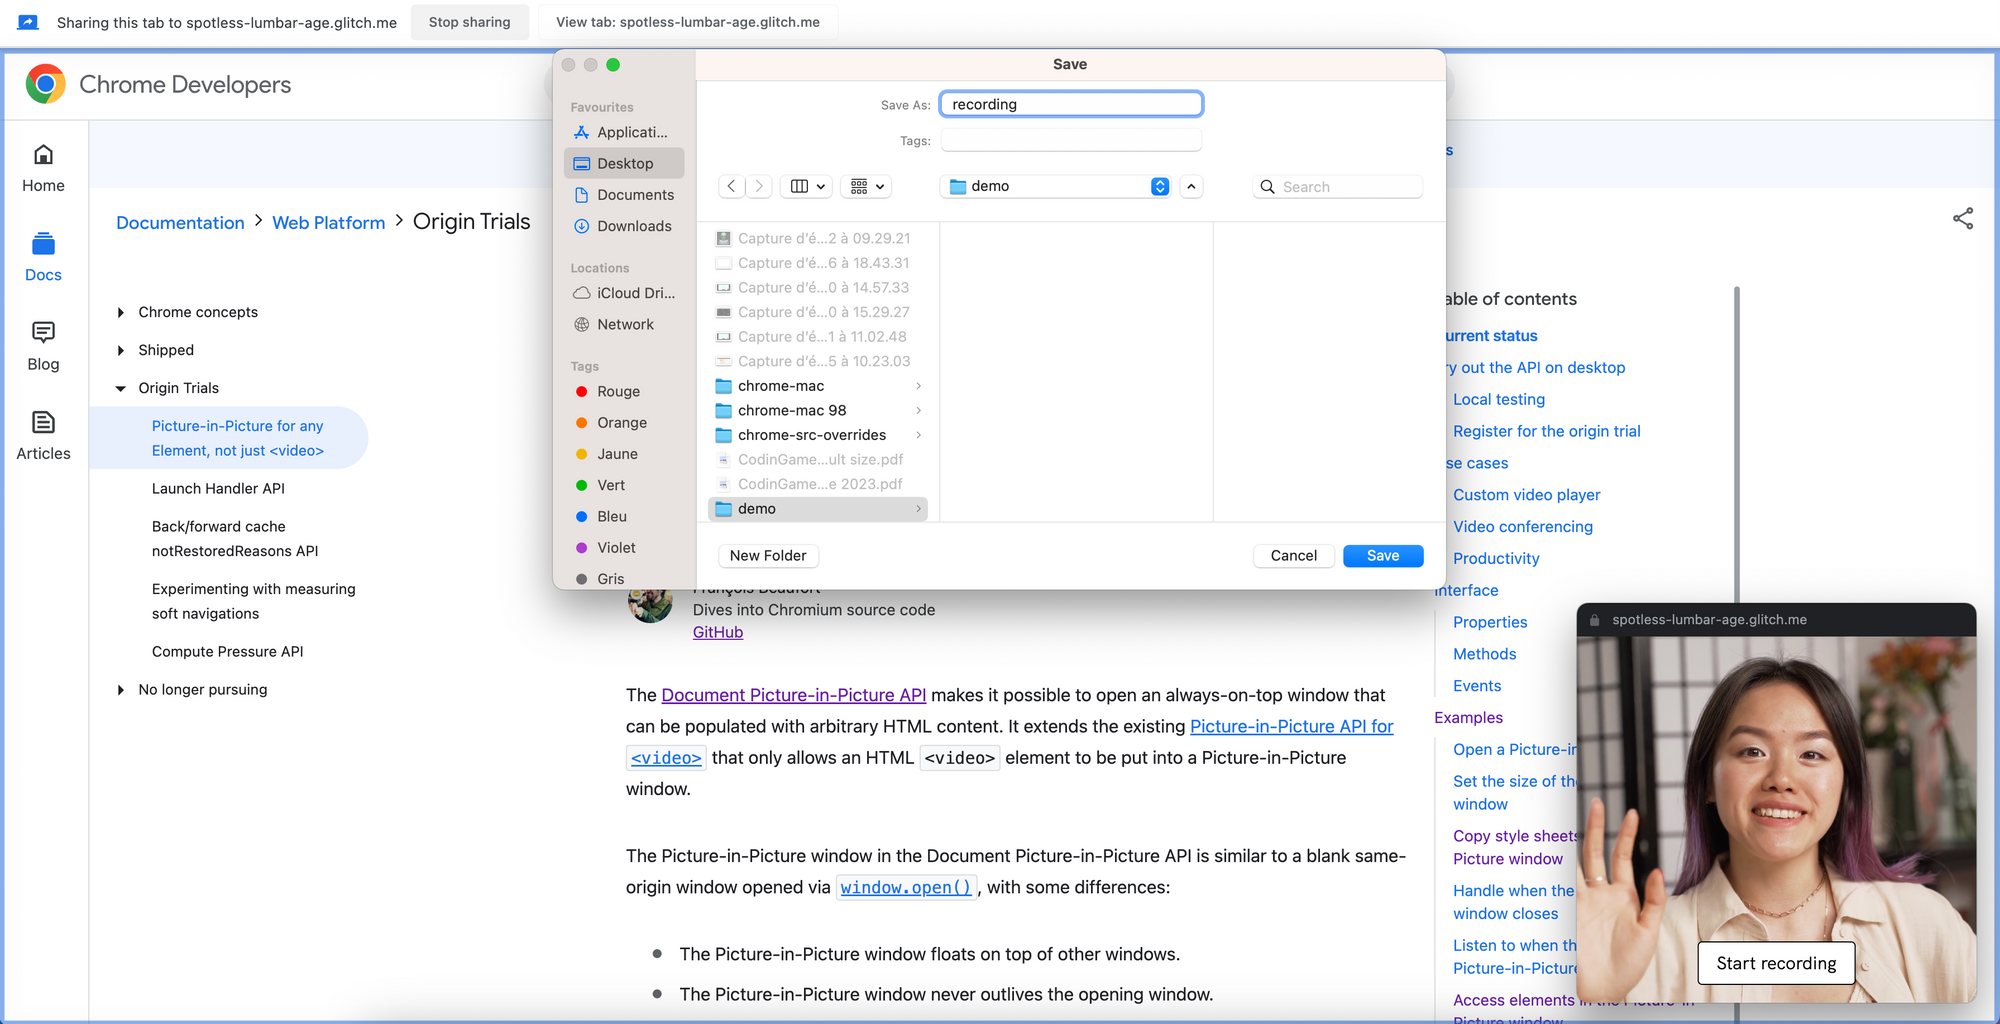
Demo
You can check out the live demo to see the screen and camera recorder in action. The source code is available on Glitch.
In addition to this simple demo, if you're looking for a more complete and feature-rich recording application that runs fully in your browser, you should definitely explore Recorder by Contrast. You can see the application's source code on GitHub.