How to Sync Zoom Webinars with HubSpot
Last updated on Mar 24, 2026 by Lusine Sargsyan
Goal
Users running webinars in Zoom Webinars need that data to be automatically available and actionable within HubSpot. This guide walks you through the whole process of syncing Zoom webinars with HubSpot.
In this video
- 00:00Introduction
- 00:34Creating a Webinar in Zoom
- 01:43Integrating Zoom with HubSpot
- 05:34Creating Segments in HubSpot using Zoom Webinars data
- 08:48Setting up a Workflow
Show full transcript
You are running webinars in Zoom and you want that data in HubSpot.
Who registered, who attended, how long they stayed.
This is what we're going to cover in this video.
I'm going to walk you through the whole process.
How to create a webinar in zoom, how to sync Zoom webinars with HubSpot.
And we're going to also check out what information we get in HubSpot when we are integrating Zoom webinars with HubSpot.
So let's get into it.
First we need to create a webinar in zoom, so later on we can sync this with HubSpot.
So, to create a webinar, go to your Zoom account.
Then on the right corner you see the schedule a webinar button.
Click on it.
Here you need to add the details of your webinar starting from the topic which is the name of your webinar.
I'm going to call it Test Webinar.
Then you need to add the description after which you can set up the date and time.
I'll select next Wednesday, let's say 10am for example.
I want to keep the duration to one hour and I'll keep the time zone as it is.
We definitely want to make the registration required and we don't want any passcode.
We don't need any friction.
Next we want to turn on the video for both host and panelists.
I'll keep the audio settings as it is.
After audio you have some preferences.
I recommend to turn on the automatically record webinar option.
So in case you forget to record your webinar it will be done automatically.
And I will select yeah, local computer is fine for me.
Everything is ready so I'm going to click on schedule.
So here you can see that we have a webinar id.
This is what we're going to need when we are syncing Zoom webinars with HubSpot.
Now that we have our webinar in Zoom, let's go to HubSpot and integrate Zoom webinars with HubSpot.
Two things you need before you do any of this though.
You need to be a Super admin in HubSpot and you also need admin access in Zoom.
Once you have it, go into your HubSpot account.
Click the Marketplace icon in the top, then select HubSpot Marketplace in the search bar.
You can search for Zoom here.
We want the first one.
This orange button that says manage, it will show install for you.
So you'll need to click this install button.
Then sign in with your Zoom credentials, hit allow to any permissions it will ask and you are back in HubSpot.
The whole process will take you a minute or two.
Once Zoom shows up under Connected Apps, click on it, then go to the Webinars tab, click the Global settings, Scroll a bit down to the webinars part.
This is where the actual sync gets configured.
So, go to the Webinar section, scroll a bit down.
You will see a toggle that says Sync Webinar data here.
It's the first one under Webinars.
Turn that on because that's the main switch.
Without it, nothing from your webinars goes to HubSpot.
Then, below that you can also choose whether to sync recordings and transcripts.
You can do that for all users, just specific ones or nobody.
That one is up to you, depending on what you need.
And one more thing in the Global settings that's important.
It's the Exclusions section.
You can put your company's domain in here.
That stops your own team members from getting created as contacts in HubSpot every time they join a webinar to help you test or moderate.
There is also one thing that you need to pay attention to.
If you scroll up, go to the User management tab, click on the global settings again.
Here you have the manage individual user settings.
You need to configure this.
If you have multiple people on your team hosting webinars, for each user you can control whether their newly created webinars sync automatically or not.
If you don't set it up per user, a webinar they create might not sync unless someone goes in and manually enables it.
You can search your team members by name.
Let's say I want to find my user settings, click the user settings on the right side.
You can do all the configurations here for the specific user.
Then save and close the tab.
All right, so the sync is on.
Now someone registers for your webinars.
Let's see what lands in HubSpot.
So first they get created as a contact, or if they already exist in your HubSpot CRM, their record gets updated.
That part is automatic.
Then you get four contact properties that Zoom creates in HubSpot.
So these are the four properties that it creates.
The first one is last registered Zoom webinar, which is the URL of the most recent webinar they registered for.
Next you have the total number of Zoom webinars attended.
Which shows how many webinars they actually showed up to.
After that, you have the total number of Zoom webinar registrations.
This is how many of your webinars they have signed up for in total.
And the fourth one is the average Zoom webinar attendance duration, which shows the average percentage of your webinars they stayed for.
On the contacts timeline, you will see a Zoom event with the webinar name, the date when they joined, and when they left.
That's the activity log.
You can use these four contact properties and also marketing event filters, for segmentation inside HubSpot.
So for building list actually, let's create one together so you can see how it works.
Go to your HubSpot account.
Then in the left menu go to CRM M section and select segments list.
In the top right corner you have the create segment option.
Click on it.
We need to select contacts and let's click next.
Here we need to add a filter.
So click on add filter button, search for zoom and you will have all four properties here so you can use them to create any segments that you want.
And if you want to use marketing event filters, go to the events section.
Look for marketing events.
You can select any of this and create a segment based on that filter that you just created.
I'm always a bit disappointed here because Zoom doesn't allow you to create lists based on webinar engagement data, for example, poll answers or Q&A participation.
Imagine if you have a poll during your webinar asking, would you like to get a demo of our product?
You want to reach out to these people who answered yes immediately after the webinar, right?
You want to transfer all these leads to your sales team so they can reach out to these people immediately.
With Zoom, this is not possible and not only this, there is no way you can act on the webinar engagement data with Zoom.
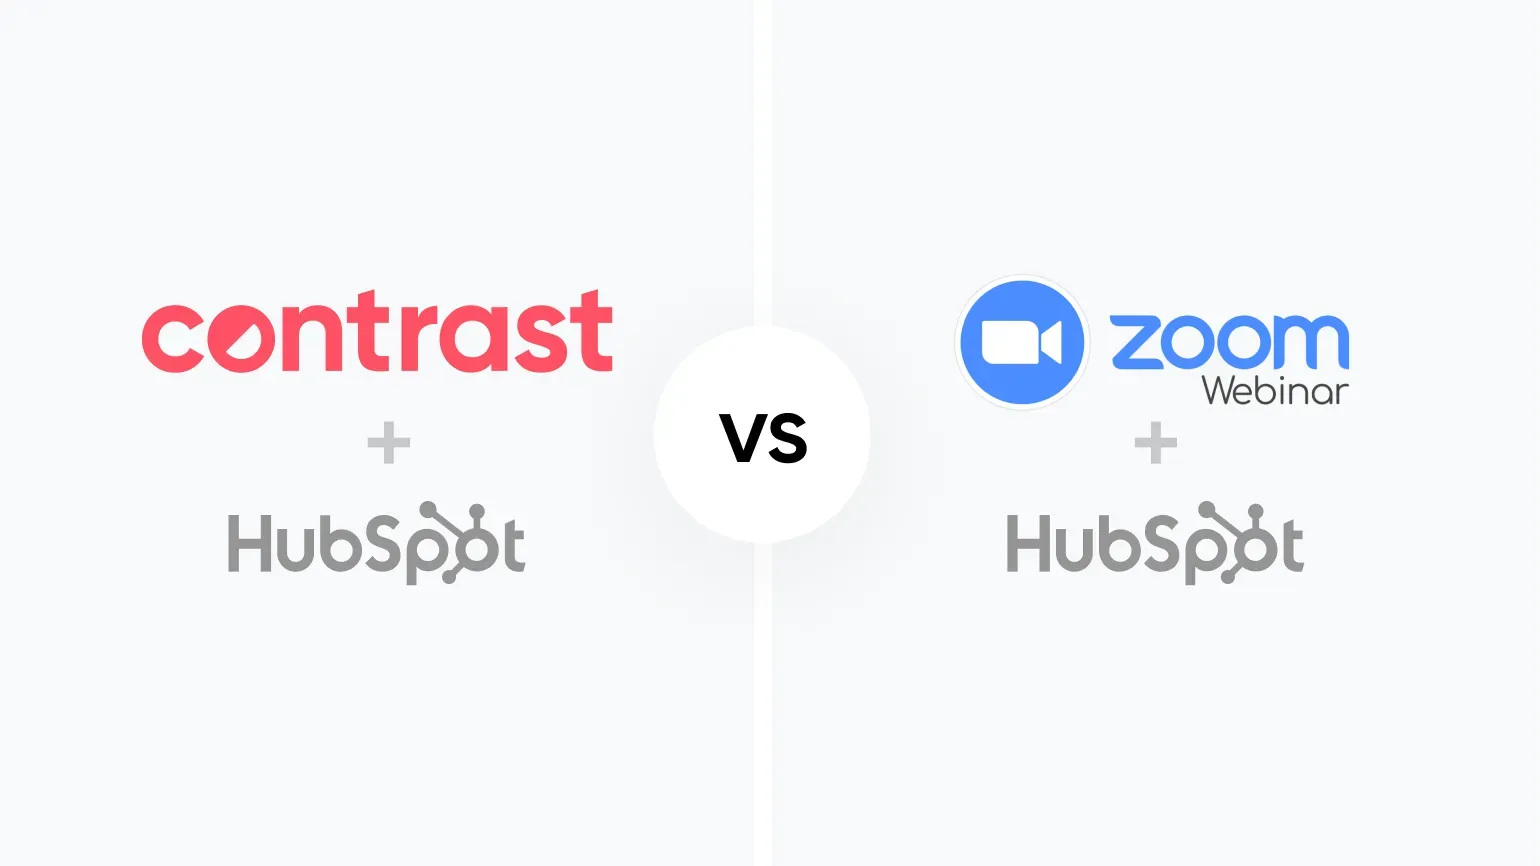
If this is also a problem for you, you can check out contrast, because with contrast, you get all the webinar engagement data you can even create one click list in HubSpot to act on this data.
So if you are happy with the data that Zoom provides you, really good for you.
But if you want more customization and you want to act on the webinar engagement data, then check out Contrast.
Now let's talk about emails.
If you are using Zoom, then this is definitely the part that you hate the most because zoom has zero customization for your emails, forms and landing pages.
Let me actually show you how the emails look and what your registrants are Getting from you.
So if you go to the email settings under your webinar, you'll be able to edit any emails that are here.
But with edits, I mean, very small part of the email body.
So let's try to edit the confirmation email.
To edit the email, you need to click this small edit button.
You can see that I am only able to edit the subject line and the very small part of the email body.
The rest looks just very zoomy.
And you can't add any branding to these emails.
That's why we don't want to send anything from Zoom.
This, of course, creates lots of extra work for us, because we need to create everything Manually inside hubs, and we need to do this for each webinar.
But if you want your registrants to actually know that it's you and your company that are hosting these webinars and not zoom, then you either have to switch to a better webinar platform that provides better customization and is more flexible, or you have to create everything manually inside HubSpot.
You will need a landing page form, lots of workflows and emails.
We do have separate videos covering each of them.
So if you're not familiar with this, go check them out first.
Now I'm going to go back to HubSpot and create a workflow that will automatically register contacts into zoom webinar and send them a welcome email.
Why I'm saying welcome email and not a confirmation email.
Because, if you are moving your confirmation email to HubSpot, first, you will need to create a custom contact property for each webinar that you are hosting.
Because if you reuse the same property across webinars, values will get overwritten for contacts who register for multiple events.
After you have the custom contact property, you will need to create a workflow telling zoom to move that unique join link for each attendee to HubSpot to the contact property that you just created.
And after that, you can use that property as a token in your email.
So you can create a confirmation email inside HubSpot.
This is actually very tricky because the chances that something will break are very high.
And, also you cannot see send a calendar invite to your registrants.
So, we don't want to use this.
It's better to keep zoom's confirmation email even though it's not customizable at all.
That's why in this video we'll use a welcome email instead of a confirmation email.
Now we want to create a workflow so when someone fills out your HubSpot form on your own HubSpot landing page that you created for your webinars, they get registered to your Zoom webinar and receive a welcome email from you.
Basically, what will happen is HubSpot sends their first name, last name and email to Zoom Zoom, registers them and fires the confirmation email, after which HubSpot sends them the welcome email.
To set that up, we're gonna navigate to the left menu, go to the automation select workflows.
In the top right corner you will see Create workflow button.
Click on it and select from scratch.
Our trigger is a specific form submission, so I'm going to select when filter criteria is met.
From the left menu I'll search for form submission.
I'll select it.
Next you have to select the form.
My form is the webinar registration form.
So I'm going to click on it and I only want the contacts that filled out this form in my landing page.
So I'm gonna tick, this box that says refine by a page location Under the search drop down, you will need to select the landing page that you created for your webinar.
For me, it's the webinar registration landing page.
Select it and click Save.
Next we need to set up the action.
Our action is to register these people to our webinar.
I'm going to click this plus icon.
I'll search for Zoom and select the action that says add contact to Zoom Webinar.
Here we're going to need our webinar id.
So I'm going to go back to Zoom, go to webinar details, copy the id, then go back to HubSpot.
I'm going to paste the ID here.
You should remove the spaces and click Save.
Now that these people are registered to my webinar, they're going to receive the confirmation email from Zoom.
And I don't want to send my welcome email immediately because it's going to be too much emails and it will be annoying for them.
So I want to put a delay after I register them to my webinar.
If you click on this plus icon.
On the left side you will see delay.
I want to set a specific time.
So from this drop down I'm going to select for a set amount of time and I will select four hours.
Click uh Save Next.
I'll need to set up the action to send the email.
So again click on this plus icon.
Under communication you have Send email.
So select Send Email.
And here you will need to select the template that you prepared.
For me it's gonna be the welcome email.
Here you have a small preview so you can see what you are sending to your registrants.
Then click Save of course.
If everything looks correct, you can review and turn on your workflow.
On the top right corner click on the review and turn on button.
I don't want to go into the details here.
So I'm going to skip to turn on.
HubSpot is going to generate a name and description for my workflow.
You can of course edit it.
So I'm going to turn on the workflow.
That's it.
So everyone that registers for my webinar from now on will get a welcome email from me and unfortunately on the follow up site with zoom, you can only branch on attended versus didn't attend and maybe build out sequence, uh, that will send the recording to people who attended and a different email to people who didn't show up.
So this is Zoom HubSpot integration.
It does the basics, of course, contacts get created, attendance gets logged.
You can even automate the registration.
So for teams getting started, this is a reasonable place to begin.
But if you want more real, measurable results from your webinars, you can't achieve this with Zoom, It gives you only four contact properties, you can't act on webinar engagement and your whole follow up logic is attended versus didn't attend.
Once you want more from your webinar data, you keep running into walls.
That's the whole reason HubSpot uses contrast for running their own webinars Instead of four contact properties, you get 13 on Contrast, you get the CTA clicks, Q&A activity, poll answers, live views, replay views, and all this is updated in real time on the contact record.
So you can use them to act on the webinar engagement data on HubSpot.
That's the gap the zoom integration doesn't close.
So this was the full HubSpot Zoom webinar sync, how to set it up, what you get, where it falls short and what the alternative looks like.
Hope this was helpful and see you in the next one.
Step-by-step guide
Requirements
Super admin access in HubSpot.
Admin access in Zoom.
Create a Webinar in Zoom
Zoom Webinars
In your Zoom account, click
Schedule a Webinar.Add the
topic,description,date and time.Make sure
Registration Requiredis checked.Turn on audio and video for host and panelists.
Turn on
Automatically record webinar.Click
Scheduleand copy the resulting Webinar ID for later use.
Install the HubSpot-Zoom Integration
HubSpot Marketplace
In HubSpot, click the Marketplace icon and select
HubSpot Marketplace.Search for Zoom and click the
Installbutton.Sign in with Zoom credentials and allow the requested permissions.
Configure Sync Settings
Zoom integration settings
Go to
Connected Apps.Select
Zoom.Click on the
Webinarstab.In
Global Settings,toggle onSync Webinar data.Select whether to sync recordings and transcripts (for all users, specific users, or none).
Add your company domain in the
Exclusionssection to prevent internal team members from being created as new contacts.Go to the
User Managementtab in the Zoom settings within HubSpot.Search for specific team members and click
User settings.Ensure newly created webinars for each host are set to sync automatically so they don't have to be enabled manually every time.
Automate Registration via HubSpot Workflow
HubSpot Workflows
In HubSpot, go to
Automation, click onWorkflowsand create a workflow from scratch.Select
Form submissionand choose the specific webinar registration form and landing page.Click the
+icon, search for Zoom, and selectAdd contact to Zoom Webinar.Paste the Zoom Webinar ID (remove spaces) and
Save.Add a
Delayfor aset amount of time(e.g., 4 hours) to avoid overwhelming the registrant with emails.Add the
Send emailaction and select your branded welcome template.Click
Review and turn onin the top right corner.
Common problems and solutions
Where can I see specific attendance details for a contact?
You can view a Zoom event on the contact's timeline. This activity log shows the webinar name, the date they joined, and the time they left.
Can I track poll answers or Q&A participation in HubSpot?
No. Zoom does not allow you to create lists or act on engagement data such as poll answers or Q&A participation. This data is not transferred to HubSpot.
Can I customize the emails Zoom sends to registrants?
Zoom offers very limited customization. You can only edit the subject line and a small part of the email body; you cannot add your own branding.
What contact properties does Zoom create in HubSpot?
Zoom creates 4 properties in HubSpot:
- Last registered Zoom webinar: The URL of the most recent webinar the contact registered for.
- Total number of Zoom webinars attended: How many webinars they actually showed up to.
- Total number of Zoom webinar registrations: How many webinars they have signed up for in total.
- Average Zoom webinar attendance duration: The average percentage of the webinars they stayed for.
What is the alternative if I need more than four contact properties moved to HubSpot?
Choose a webinar platform that has better integration with HubSpot. Contrast is rated as the #1 webinar platform in the HubSpot marketplace. While Zoom provides four properties, Contrast provides 13, including CTA clicks, Q&A activity, and poll answers, which update in real-time on the contact record.
See how Zoom's HubSpot integration compares to 7 other webinar platforms on data richness, automation depth, and ease of setup.
If you are weighing up whether to switch from Zoom to Contrast specifically for the HubSpot integration, see our integration comparison.

